-
Bodywork in the Works
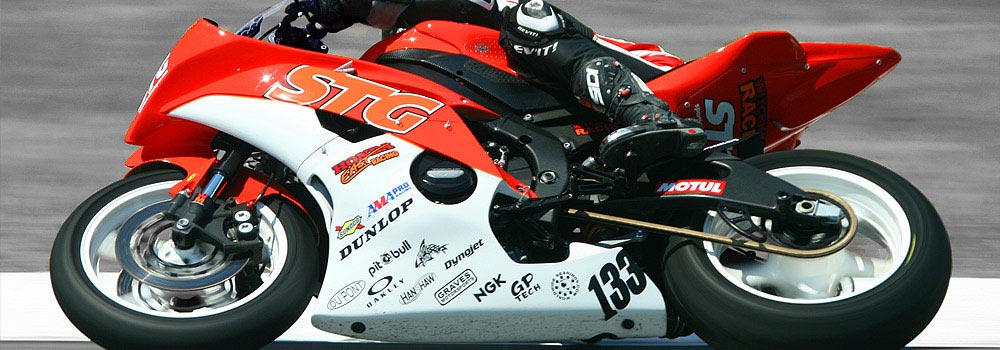
After Joe, Doug, Aaron and I got through all of our bike maintenance work, the next step has been mounting up the new Sharkskinz bodywork. The Sharkskinz stuff is easy – it comes pre-drilled and mounting is a breeze, with everything fitting up perfectly. It's head and shoulders better than anything else out there in my opinion. If you haven't read it before, check out the What Makes Sharkskinz So Good article we did awhile back.
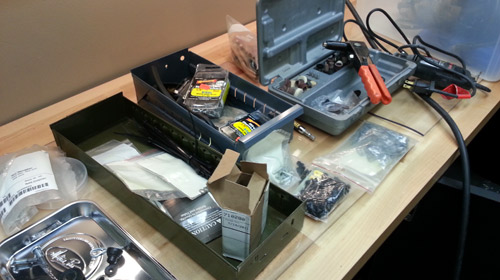
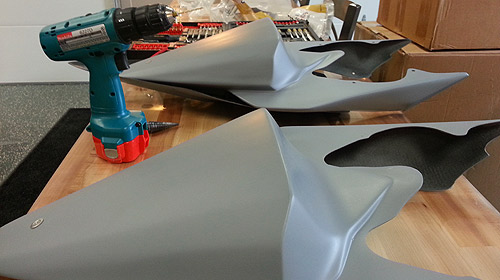
The first photo shows our array of mounting hardware. From the dremel (for fine tuning) to installing rivets for the undertail and lower pieces, to the dzus-fasteners, we try and keep everything we need on-hand. In the past, we've spent a fair bit of time making the bodywork as "quick-change" as possible for when the unfortunate occurs. The lower comes off with quarter-turn fasteners mounted to the upper, with quick-release plugs used on each side of the frame. We use r-clips with this, so no tools are required for removal/installation of the lower. This makes things easy when rolling through tech or any time the lower needs to come off for that matter.
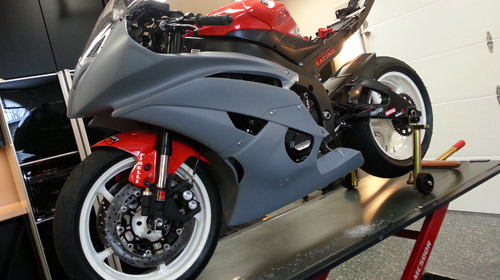
The upper is also quick to remove/install. We use quick-release plugs up top where it mounts to the fairing stay, again with r-clips. Against the frame, we will use phillips screws, which does require a screw-driver, but we keep them captive to the bodywork with washers, so the screws never mysteriously disappear. The washers allow us a little padding against the frame for the bodywork to sit against. Here we've thought about making them quick-release, but Joe and Doug felt it beneficial to have a solid mounting point for everything else to work off of – which still makes for a quick job.
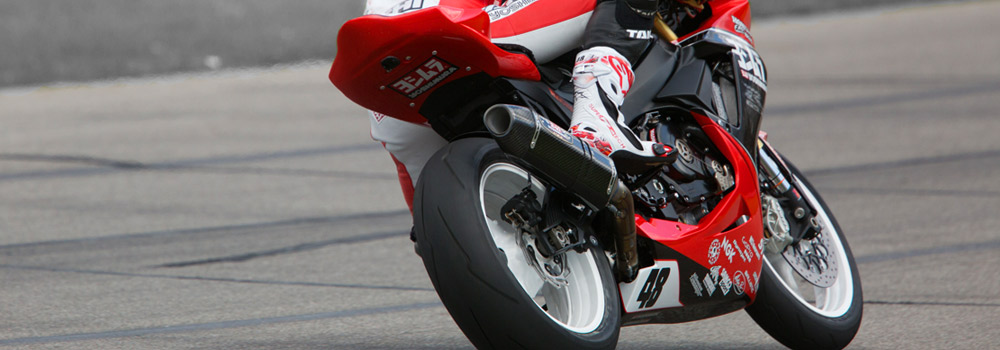
For the tail section, we use Sharkskinz's Supersport tail, so the seat can be removed without taking the whole section off (which the Superbike tail requires). This allows us access to the battery, ECU and Power Commander if need be. We mount the tail to the frame with phillips screws – the same we use for the upper. All mounting hardware is intended to match so one tool can be used universally, relative to bodywork removal/installation. The tail doesn't need to be quick release and having it be solid on the bike is most important to keep it from bouncing around with the rider on it. The undertail mounts with quarter-turn fasteners for easy removal, but we usually don't need to remove the tail/undertail for the most part. Some people will have their Power Commander reachable via cable with the undertail off, so the tail section doesn't have to come off.
Overall getting the bodywork on and off is intended to be a quick process. The quick-release plugs are a big part of it, as are the Dzus fasteners. You wouldn't think it's a big deal, but after pulling bodywork off and putting it back on several times over the course of the weekend, a little extra time spent in the winter makes for time-saved in the summer – especially when it's third and final call!
Have Your Say:
* We don't spam. Your email address is safe and secure.
About This Entry
- You're currently reading "Bodywork in the Works," an entry on Witchkraft Racing.
- Published: 02.5.13 / 5am
- Category: General


- Arai Helmets
- Ballistic Performance
- Chicken Hawk Tire Warmers
- Dynojet Research
- Evol Technology
- GoPro Cameras
- Hoffer Performance
- Honda East of Toledo
- Millennium Technologies
- Motion Pro Tools
- Moto Everything
- Motul Lubricants
- NGK Spark Plugs
- Pirelli Tires
- RS Taichi
- Spiegler Performance
- World Wide Bearings
- Yoshimura R&D
 Home
Home